
TISSUE PAPER BUYER’S GUIDE
Custom Printed Tissue Paper: A Buyer’s Specification Guide
Choose the paper, print, repeat pattern, sheet size and proofing route that make tissue paper work with a luxury paper bag or gift box—not merely beside it.
Custom printed tissue paper is lightweight wrapping paper produced with a brand colour, logo or repeat pattern for retail bags, gift boxes and e-commerce packs. A useful specification defines the paper, finished sheet size, print process, artwork repeat, colour reference, ink coverage, packing method and approval sample. Those choices determine whether the tissue folds cleanly, presents the product well and coordinates with the outer packaging.
For a premium retail pack, tissue paper is usually the transition between the product and the luxury paper shopping bag or rigid gift box. It can conceal the product, control the reveal, add colour and provide light surface separation. It is not automatically a substitute for a fitted insert, abrasion-resistant sleeve, moisture barrier or transport cushioning. This guide shows buyers how to decide what the tissue should do and how to brief it for repeatable production.
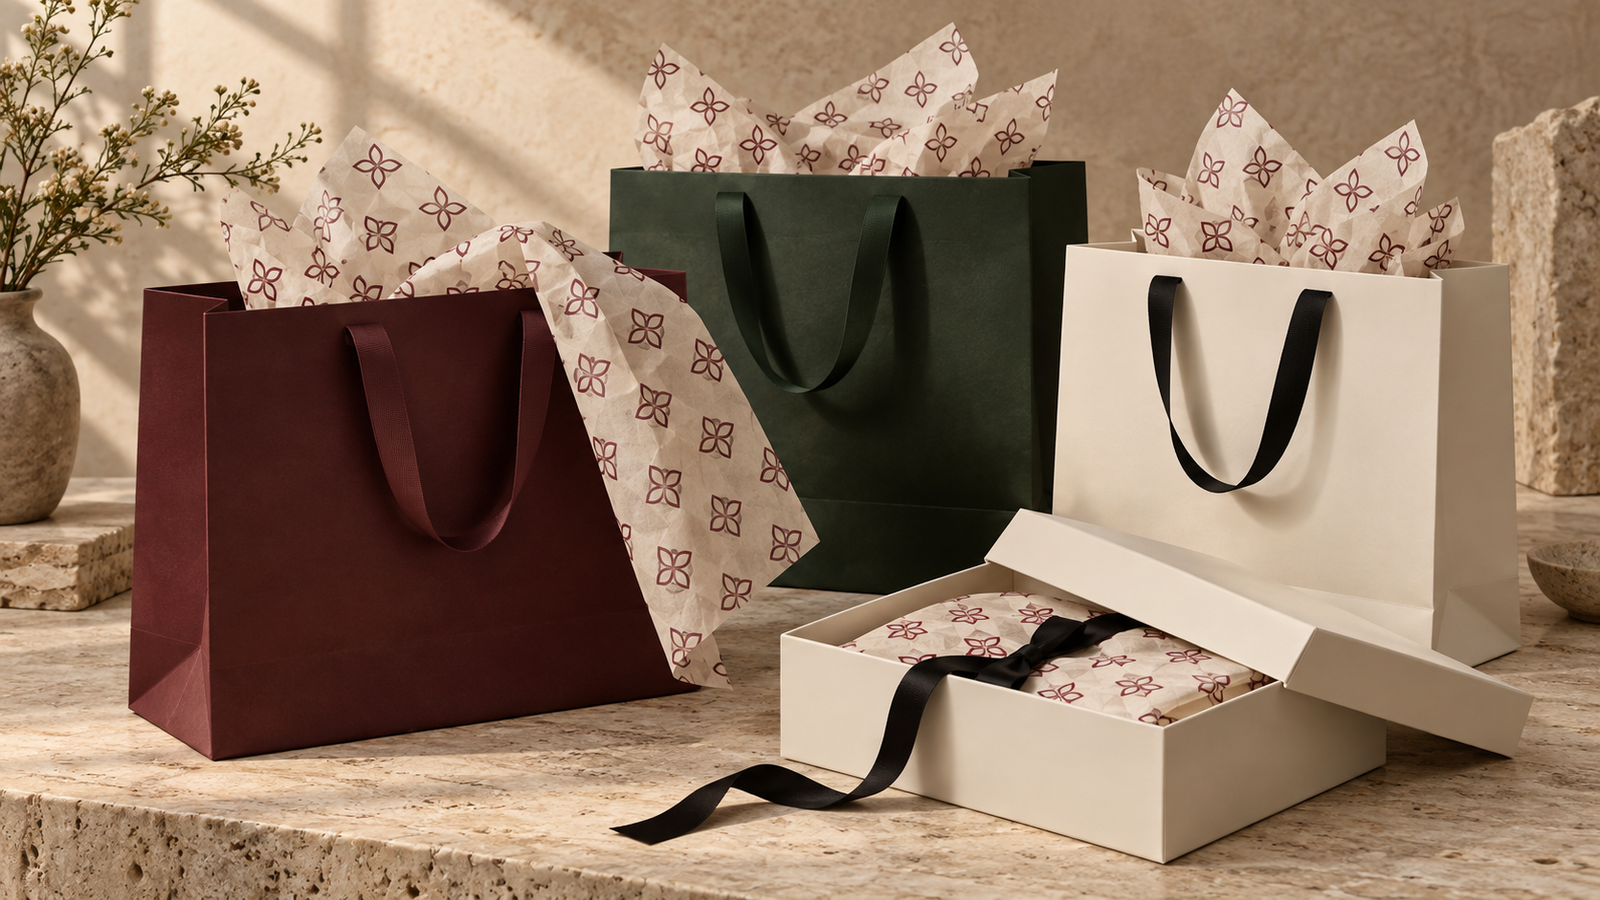
What should custom printed tissue paper do?
Begin with the packing moment rather than the artwork. Tissue used at a boutique counter has different priorities from tissue placed around a product in a rigid box or folded into a luxury shopping bag at a fulfilment centre. State who packs it, what it wraps, how the customer opens it and whether the sheet must be reused within the presentation.
- Presentation: introduce controlled colour, texture or pattern inside an otherwise quiet pack.
- Concealment: reduce immediate product visibility and create a deliberate reveal.
- Light separation: sit between products or between a product and box surface to reduce casual rubbing.
- Wrapping: gather, fold or close around apparel, accessories, cosmetics, jewellery boxes or gifts.
- Void presentation: soften open space visually without claiming the shock protection of engineered cushioning.
- Brand continuity: connect the inside of a gift box with the colours and details of the outer paper bag, ribbon or sticker.
A supplier cannot choose the right sheet from “premium tissue with our logo” alone. Share the finished product or box dimensions, required fold, number of sheets per pack, presentation direction and any surfaces that must not rub against ink. If the tissue will touch food, cosmetics, jewellery or another sensitive product directly, state that intended contact at the start so applicable material, ink, migration and destination-market requirements can be identified.
How do you choose the tissue paper itself?
Compare tissue by more than a colour name or nominal GSM. Grammage is the mass of paper per unit area. ISO 536:2019, confirmed as current in 2025, specifies how paper and board grammage is determined. It does not define softness, opacity, tear behaviour, surface smoothness or suitability for a particular wrapping fold. Two tissues with similar grammage can therefore look and handle differently.
Weight, opacity and handfeel
A lighter sheet can feel delicate and drape easily, but it may show the product, reverse-side print or overlapping folds more clearly. A heavier sheet can feel more substantial and conceal more, yet it may create bulky corners inside a compact box. Ask for actual swatches and fold them around the intended product. Judge the result in one, two and any planned number of layers.
White, natural or coloured base paper
White and ivory bases usually provide the clearest starting point for printed colour. Natural or kraft-toned tissue supports a warmer, less formal direction. A pre-coloured sheet can create a richer field without printing the whole surface, but the base changes how the ink appears and how much show-through is visible. Do not assume that a pale ink will remain bright on a dark tissue; request a physical print test on the selected stock.
Surface and sheet consistency
Supplier terms for smooth, glazed, soft or crinkled tissue can vary. Define the outcome and approve the actual material rather than relying on a trade name. Check surface uniformity, pinholes, wrinkles, edge quality, fibre or dust transfer, shade variation and how easily sheets separate during packing. A beautiful sample that clings together or tears during a busy retail handoff may not be the right production choice.
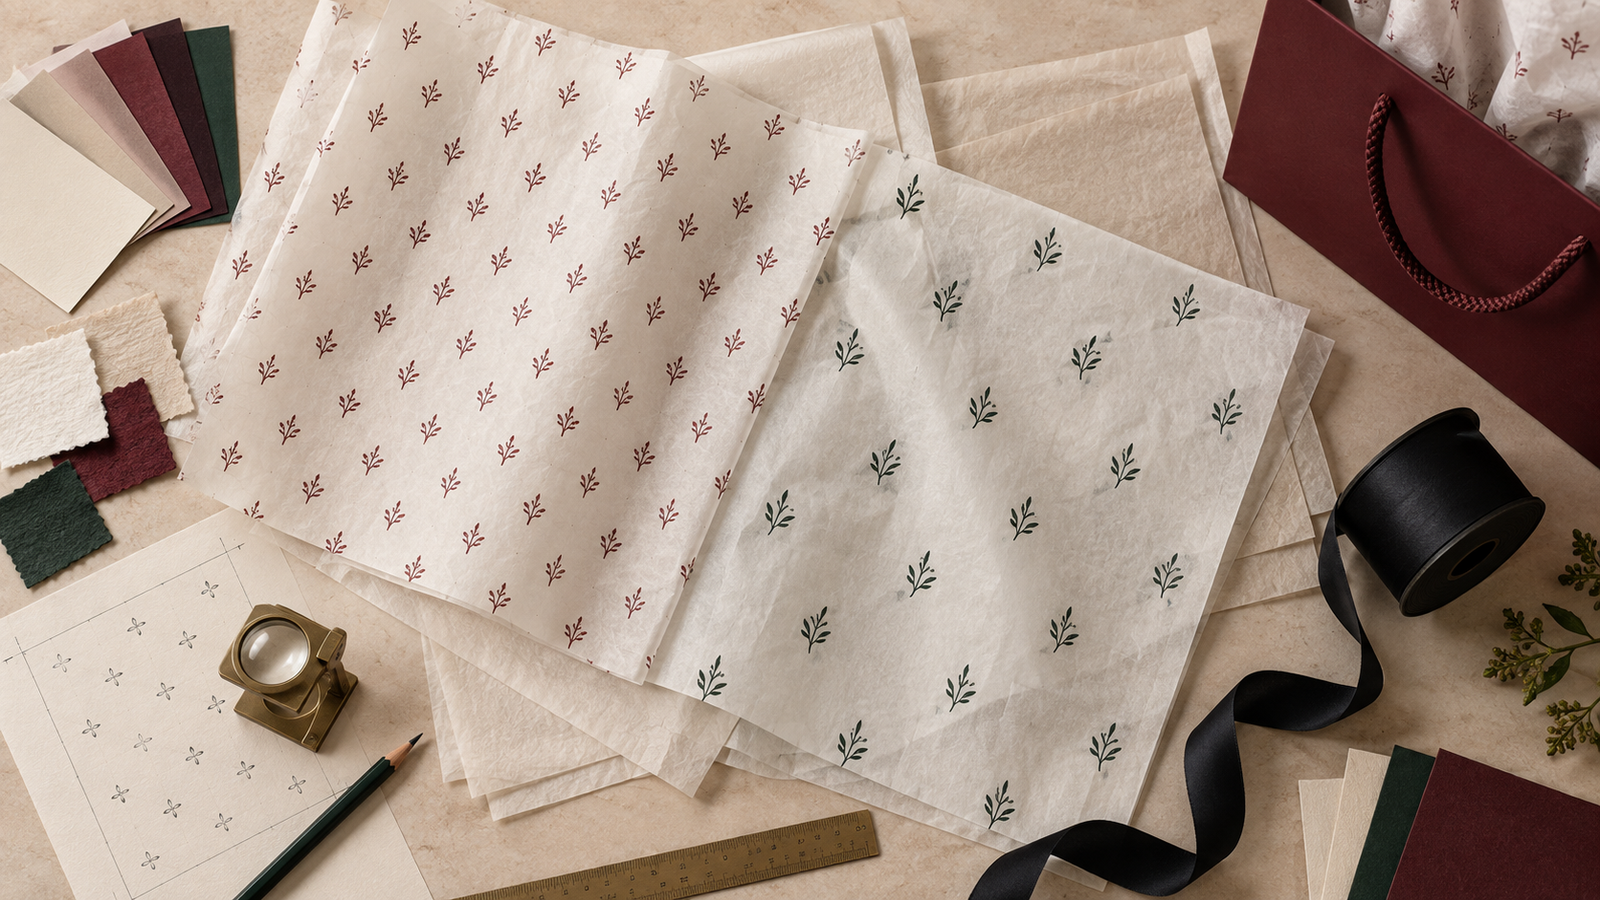
Which printing method is suitable for tissue paper?
The right route depends on the tissue, artwork, number of colours, coverage, quantity and supplier equipment. Flexographic printing is commonly considered for repeat patterns and production runs because a flexible plate transfers ink from a repeating cylinder. Other suppliers may propose screen, offset, gravure or digital routes for particular papers, designs and quantities. Ask for the actual process being quoted and a sample made on comparable tissue.
For colour-managed flexographic work, ISO 12647-6:2020 covers data exchange, printing aims, responsibilities and recommended tolerances for four-colour flexographic printing, with guidance on spot colours. It is not a promise that every tissue printer follows the standard or that one proof predicts every translucent sheet. It does show why print condition, substrate and colour target belong in the specification rather than being left as an unnamed “Pantone match.”
| Artwork need | Questions for the supplier | Approval evidence |
|---|---|---|
| One-colour logo or repeat | Spot ink, plate repeat, minimum line weight, ink coverage and print side | Printed strike-off or production-relevant sheet |
| Two or more spot colours | Registration tolerance, trapping, colour order and effect of the base sheet | Composite proof plus physical print sample |
| Process image or gradient | Available screen, highlight limits, colour profile, substrate show-through and quantity | Production-relevant proof followed by a physical sample where colour is critical |
| Metallic, white or special-effect ink | Opacity, rub resistance, fold cracking, transfer risk and direct-contact suitability | Finished tissue tested after folding and handling |
Ink coverage matters on a thin, flexible sheet. A sparse pattern usually preserves more of the tissue’s lightness and may show less rub or set-off risk than a heavy all-over field. If the design uses dense coverage, request testing for blocking between stacked sheets, ink transfer, odour, cracking at folds and changes in handfeel. Confirm which side is printed and which side should face the product.
How should the logo or repeat pattern be designed?
A tissue design is seen in fragments. The sheet is folded, gathered and partly hidden by the product, ribbon, sticker, box walls or paper bag. A single large logo can disappear into a fold; a repeat that is too dense can become visual noise. Test the pattern at actual size on the intended sheet and simulate the real wrapping method before approval.
- Choose the viewing moment. Decide whether the customer sees a flat top sheet, a gathered collar in a paper bag or a wrapped product inside a box.
- Set the motif scale. Make sure at least one recognisable brand element is likely to remain visible after the planned folds.
- Build a seamless repeat. Define spacing, rotation and any stagger so the plate or cylinder repeat does not create an accidental stripe.
- Control coverage. Leave enough unprinted tissue to retain the intended lightness, translucency and tactile contrast.
- Separate colours and special inks. Supply vector artwork and identify every spot colour, process element, white underprint or special-effect layer.
- Mark orientation and print side. If the logo must face outward or the tissue is folded in one direction, put that instruction on the approved layout.
Screen colour is only a preview. Pantone’s guidance on coated and uncoated papers explains that surface and ink interaction change a colour’s appearance. Tissue introduces additional translucency and absorbency. Approve the relationship between tissue, paper bag, rigid box and ribbon using physical components under agreed lighting instead of demanding an impossible identical appearance across every material.
How do you choose the right sheet size?
Work from the completed pack. Measure the product or gift box, then mock the intended fold with plain tissue. Record finished sheet width and length, sheets used per pack, overlap, trimming direction and acceptable size tolerance. A standard supplier sheet can be practical if it creates the required presentation without excessive waste; a custom cut may be justified when it simplifies packing or fits a repeated box programme.
For a shopping bag, decide whether tissue lines the bag, wraps a boxed product or rises above the opening as a decorative collar. Keep it clear of the handle attachment and avoid so much height that it catches during carrying. Use the luxury paper bag size guide to size the bag around the completed product pack, including tissue rather than adding it after dimensions are frozen.
How should tissue coordinate with paper bags, boxes and ribbon?
A coordinated set does not require every component to repeat the same logo at the same scale. Give each layer a role. The outer luxury paper bag can carry the strongest brand mark; the rigid box can create structure and reveal; tissue can add movement, softness and an interior colour cue; ribbon can close or organise the presentation. Repeating one colour or motif selectively is often more refined than printing every surface heavily.
Review the components in the sequence the customer sees them. Check whether tissue ink transfers to an ivory box, pale product or ribbon; whether it hides an important foil mark; whether excess bulk prevents a box lid from closing; and whether the finished gift pack enters and leaves the bag comfortably. Our luxury packaging sets guide explains how to assign a job to each layer and approve the whole system.
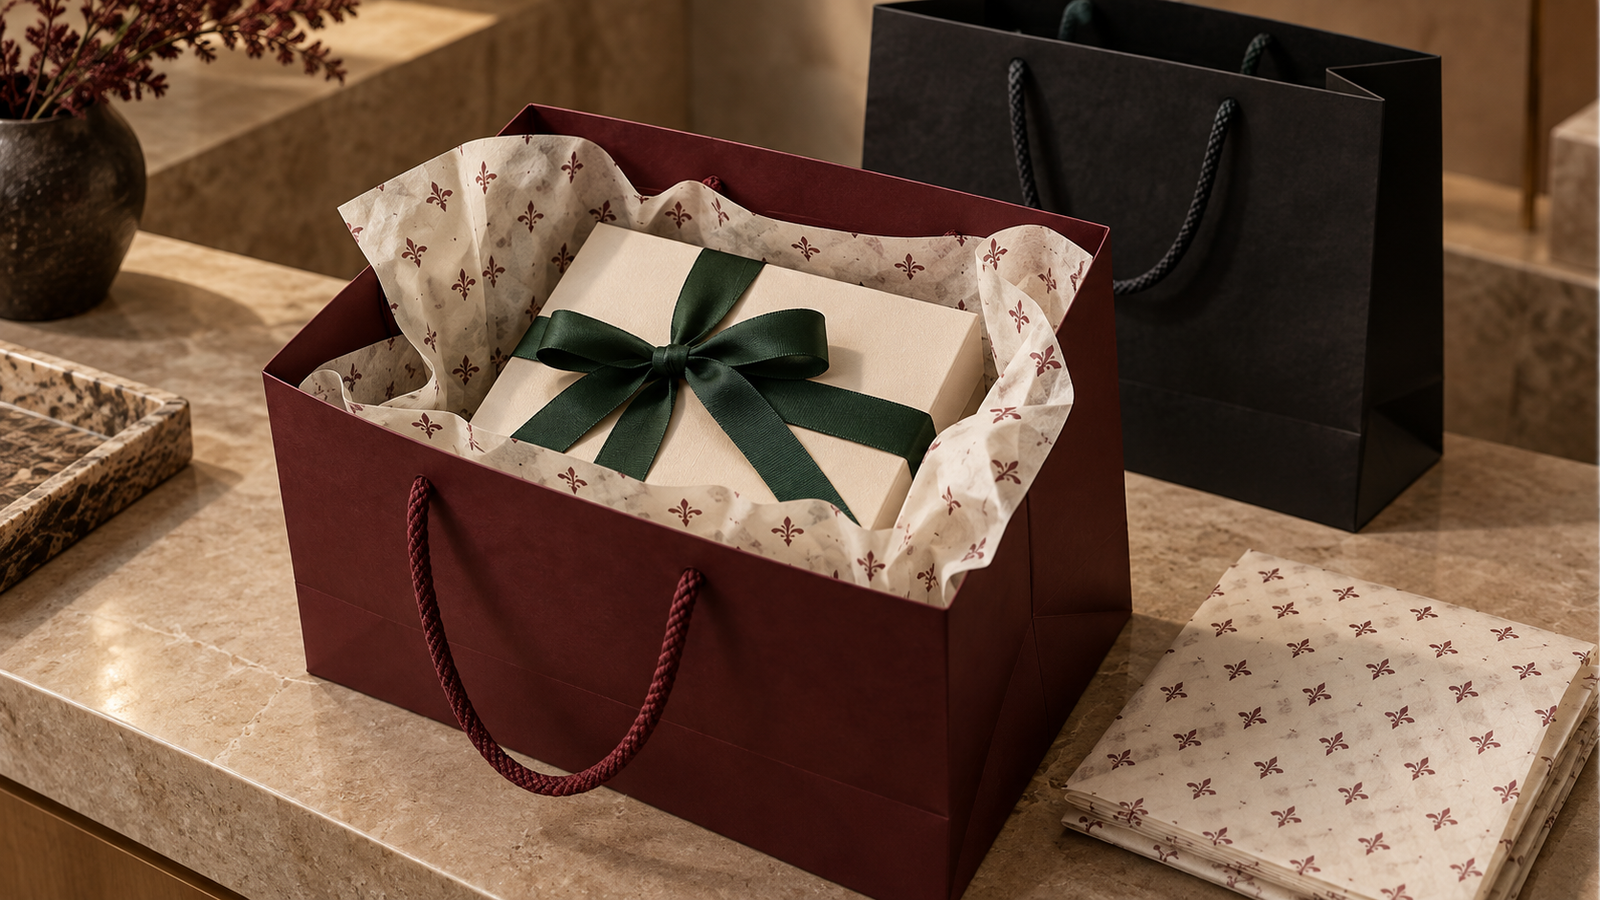
What should a tissue paper sample prove?
A digital layout can approve motif, repeat direction and approximate placement, but it cannot prove tissue translucency, ink holdout, rub behaviour, feel or folding performance. Use staged approvals so each sample answers a defined question.
- Material swatch: compare base colour, grammage, opacity, texture and fold response.
- Artwork proof: approve motif size, repeat, orientation, colour separation and print side.
- Printed strike-off: judge actual ink appearance, coverage, sharpness, show-through and rub resistance on the proposed tissue.
- Cut sheet or packing mock-up: confirm dimensions, fold sequence, packing time and presentation with the real product, box and bag.
- Approved production reference: retain a controlled sample and final artwork/version record for inspection and reorders.
Write down what approval means. “Looks good” is difficult to inspect later. Record the paper code and nominal grammage, base shade, finished dimensions and tolerance, print process, ink references, repeat measurements, print side, acceptable registration and shade limits, packing count and carton labels. Where colour or rubbing is critical, agree on the comparison or test method before production.
How do you inspect custom printed tissue paper?
Inspect tissue as both a printed sheet and a packing component. Sample across cartons and production positions rather than checking only the top ream. Compare against the approved reference under consistent light, then perform the actual fold and pack-out.
- Correct paper, base shade and agreed material identification.
- Finished dimensions, squareness and edge quality.
- Correct artwork version, repeat size, orientation and print side.
- Ink colour, density and registration within agreed limits.
- No unacceptable smearing, set-off, picking, pinholes or ink transfer.
- Sheets separate reliably without excessive static, blocking or tearing.
- Folds and wraps as approved around the representative product.
- Correct count per pack or ream, moisture protection, carton quantity and labels.
- Traceable production records for complaints and repeat orders.
Do not apply a paper-bag load test to tissue; the functions are different. If the tissue is expected to protect a delicate surface, define a relevant rub, lint or transfer check. If it serves only presentation, avoid turning it into an unnecessary performance claim. The acceptance plan should follow the actual risk.
Can custom printed tissue paper be called sustainable or recyclable?
Do not infer a finished-product claim from the word “paper.” Define the base fibre, recycled content or certified sourcing, inks, coatings, adhesives or stickers, packing format and destination recovery route. Collection rules differ, and tissue can behave differently from stronger paper packaging because it is lightweight and may be coloured or heavily printed.
If an FSC claim is required, FSC chain-of-custody guidance explains how eligible forest-based material is tracked through production and distribution. The finished tissue and any on-product label need the applicable certified route and trademark approval; choosing an FSC paper swatch alone does not authorise a brand to add an FSC mark.
The 2026 4evergreen Circularity by Design Guideline discusses inks, coatings, adhesives and other constituents across paper-based packaging recycling routes and states that actual testing takes precedence over general recommendations. Use it to ask better design questions, then verify the exact tissue construction and local collection route before making a broad disposal claim.
What changes MOQ, cost and lead time?
There is no universal minimum order, price or lead time for printed tissue. The economical quantity can change with the selected paper, whether it is stocked or custom made, sheet or roll format, print process, number of colours, plate or cylinder requirements, coverage, cut size, packing count and delivery plan. A low sheet price is not comparable if one quote excludes tooling, proofs, cutting, packing or freight.
Ask suppliers to separate setup and repeat-order costs, identify reusable tooling, state overrun or underrun policy, and quote the same finished sheet and packing specification. Calculate usage by customer order or retail transaction, not only by sheet: if a presentation needs two sheets, the programme consumes twice the ordered pack count. Include expected reorder frequency and annual volume so suppliers can compare practical routes without forcing every design into one oversized run.
What belongs in a quote-ready tissue paper brief?
- Application: retail bag, rigid box, e-commerce pack or another defined use.
- Product or gift-box dimensions and photos of the planned packing sequence.
- Finished sheet width × length, sheets per pack and fold or wrap method.
- Paper preference, nominal grammage, base colour, opacity and handfeel target.
- Quantity by sheet size, artwork and delivery lot, plus expected reorder volume.
- Printing process if fixed, number of colours, coverage and print side.
- Vector artwork, repeat dimensions, orientation and colour references.
- Required swatch, artwork proof, printed strike-off and pack-out sample stages.
- Acceptance criteria for size, shade, registration, rubbing, transfer and sheet separation.
- Direct-contact, odour, migration or market-specific compliance requirements.
- Fibre sourcing, recycled-content, recyclability or certification claims and evidence required.
- Packing count, inner wrapping, carton limits, labels and moisture protection.
- Matching paper bag, rigid box, ribbon, sticker or tag requirements.
- Delivery destination, terms, need-on-site date and approval owners.
If a technical value is unknown, describe the outcome and send the real product: wrap this box in one sheet, keep the logo visible after this fold, avoid ink transfer onto the ivory surface, coordinate with this burgundy bag and pack quickly at the counter. A good supplier can recommend a route, but the recommendation should be documented before approval.
Frequently asked questions about custom printed tissue paper
Is custom tissue paper suitable for direct product contact?
Only when the proposed paper, ink and production route are suitable for the specific product and applicable market requirements. Tell the supplier what the tissue will touch. Food, cosmetics, jewellery finishes and delicate fabrics can require different evidence or protective separation.
Should the logo print on the inside or outside?
Choose the side that makes the logo visible in the planned fold while managing ink contact with the product. Mark the print side and folding orientation on the approved layout. Test transfer and rubbing on the actual product or box surface.
Can tissue paper match a paper bag exactly?
Exact visual matching can be difficult because tissue is thin, translucent and absorbent while bag paper may be coated, uncoated or laminated. Approve a harmonious relationship across physical samples rather than relying on the same digital colour value.
Is one large logo or a repeat pattern better?
A repeat is often more likely to remain visible after gathering and folding. A large logo can work when the fold position is tightly controlled. Mock both at full scale around the actual product and choose the version that survives the real packing sequence.
Does tissue paper protect products during shipping?
It can provide light separation and presentation, but it should not automatically be treated as structural cushioning, moisture protection or abrasion control. Use fitted inserts, sleeves, pads or tested transport packaging when the product risk requires them.
Specify the tissue as part of the full packaging system
The best custom printed tissue paper is not an isolated decorative extra. It is sized around the product, printed for the chosen fold, approved on the actual paper and tested with the paper bag, gift box and ribbon that customers will see. Define its job first, then control material, artwork, colour, sample and packing details in one written specification.
Bespoke Packaging develops custom tissue paper with premium paper shopping bags, rigid gift boxes and ribbon as one coordinated presentation. Share your product dimensions, packing method, quantity, artwork direction, destination and target date, and we can prepare a practical specification for quotation and sampling.