
CUSTOM BOX INSERTS GUIDE
Custom Box Inserts: Paperboard, Pulp or Foam?
Choose an insert around the real product, opening sequence and distribution route—then coordinate the rigid box, luxury paper bag, tissue and ribbon as one approved pack.
Custom box inserts are fitted components that locate, separate or cushion products inside a box. Folded paperboard is a strong starting point for light products and a paper-forward presentation; corrugated board adds structure; moulded pulp forms shaped fibre cavities; and foam is considered when precise retention or cushioning cannot be achieved with the intended fibre design. The right choice depends on the actual product, acceptable movement, removal experience, packing process and route—not on material appearance alone.
A premium insert has two jobs at once: it must manage the product and choreograph the reveal. If it grips too little, the contents shift. If it grips too much, the customer has to shake or pry the product out. This guide shows buyers how to compare common insert directions, develop a sample and prepare a quote-ready brief for custom rigid gift boxes and coordinated luxury paper bags.
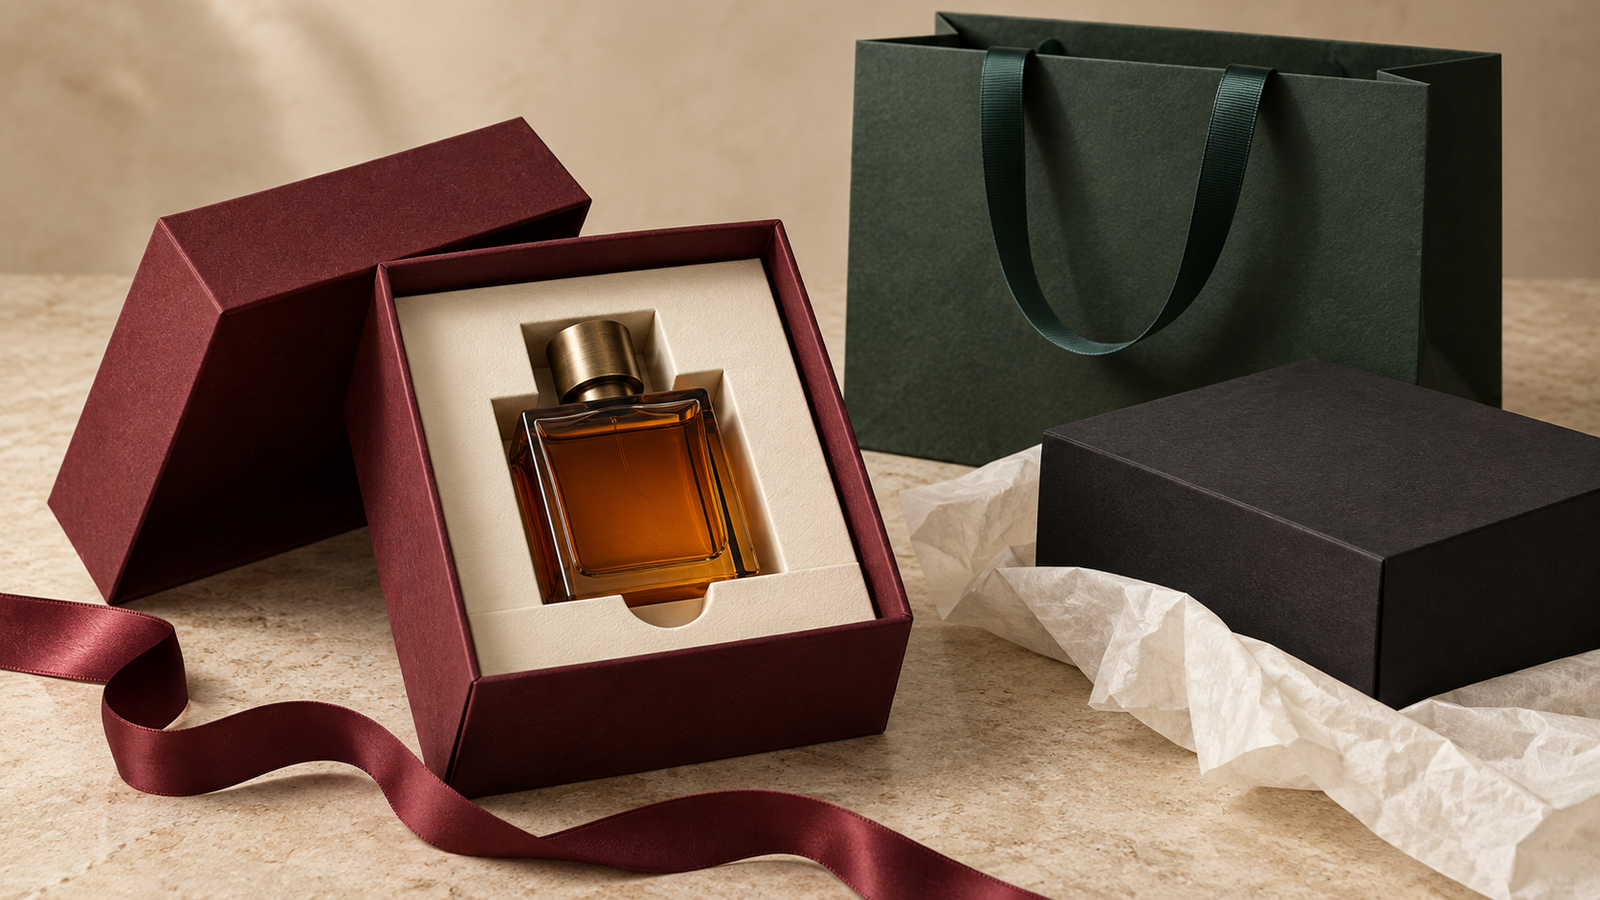
What does a custom box insert need to do?
Start with functions, not a material name. An insert may position one hero product, keep several items separated, protect a fragile surface, raise a small product closer to the lid, conceal accessories or present a kit in a deliberate order. Those functions can conflict. A deep cavity may improve lateral retention but hide the product; a soft lining may prevent scuffs but add another material; a very tight fit may look precise while making packing slow.
A useful one-sentence brief
“Hold these approved products in this orientation, within these movement limits, while allowing this packing and removal method through the stated distribution route.”
That sentence is more useful to a structural designer than “make it luxurious” because it identifies what the insert must prove.
Which box insert material should you choose?
| Insert direction | Useful starting point | Questions to resolve in sampling |
|---|---|---|
| Folded paperboard | Light products, printed platforms, trays and gift sets where a paper-forward appearance matters | Board stiffness, fold memory, locking tabs, cavity tolerances and finger access |
| Corrugated board | Heavier products, partitions or structures that need more depth and edge support | Flute direction, exposed edges, compression, dust and premium surface treatment |
| Moulded pulp | Shaped fibre support, repeatable cavities and a visible natural-fibre story | Tooling, draft angles, surface texture, dimensional variation, drying and product scuff risk |
| Cut foam | Precise cavities or cushioning where fibre structures do not meet the functional brief | Foam family and grade, density, odour, surface contact, mixed-material disposal and covering |
| Fabric-covered platform | Jewellery or presentation-led products that need a soft visible surface | Underlying structure, fabric composition, adhesive, lint, colour transfer and disassembly |
This is a direction-setting comparison, not a universal ranking. Two inserts sold under the same material label can behave differently because thickness, fibre furnish, density, geometry and manufacturing process differ. Ask the supplier to identify the proposed grade and construction, then approve that exact sample.
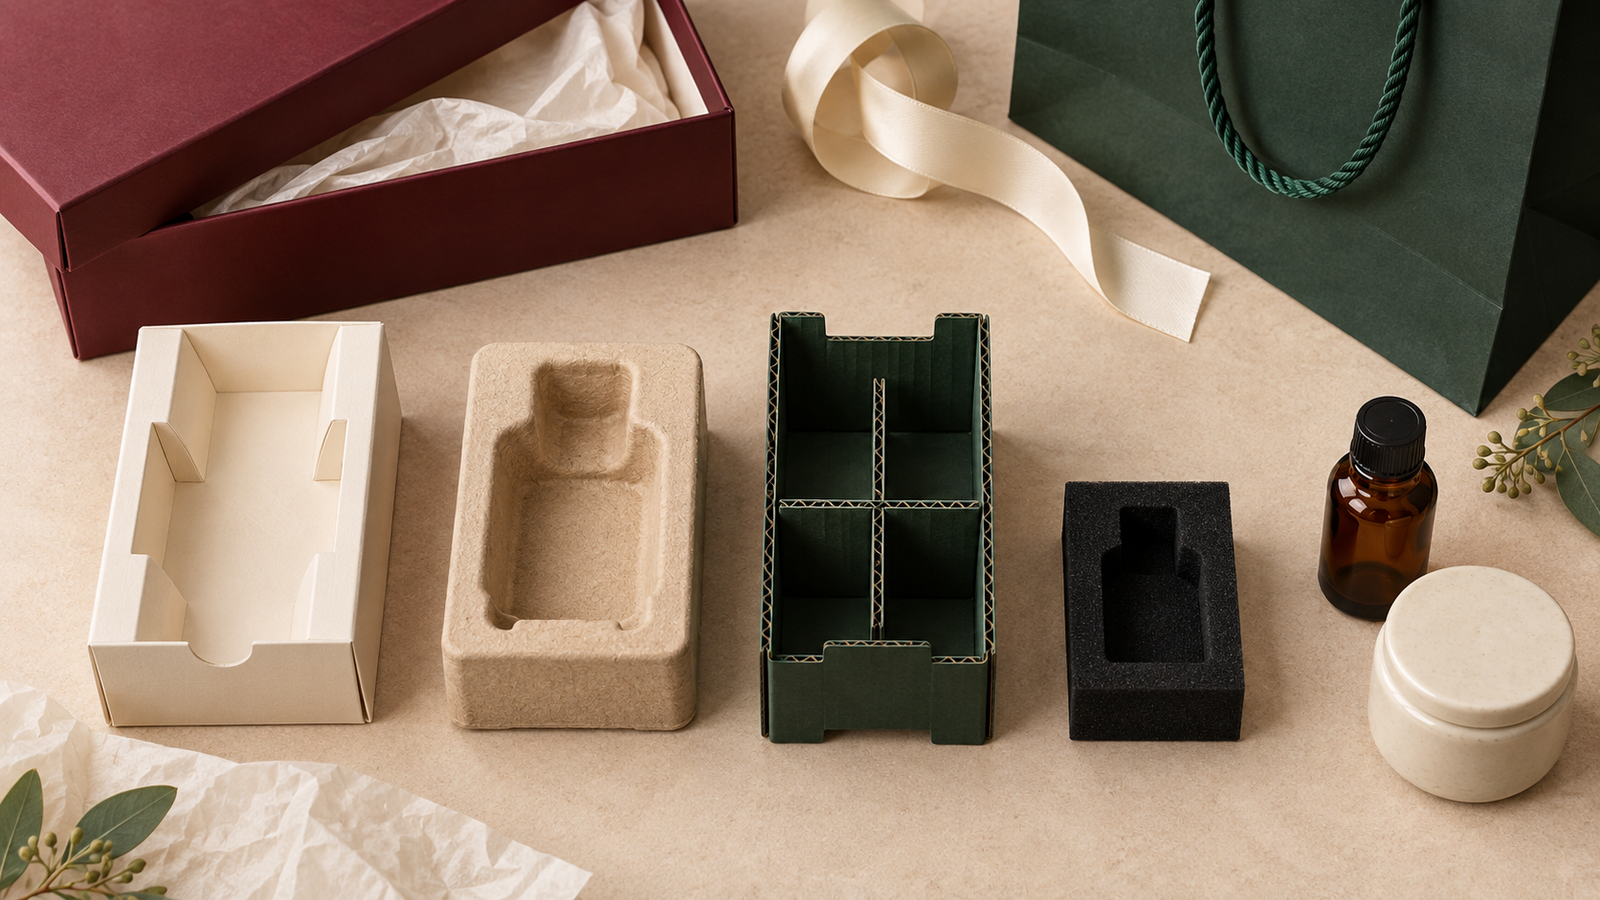
When does folded paperboard work well?
Die-cut paperboard can become a platform, cradle, stepped tray or set of locking compartments. It can carry colour or pattern, arrive flat for assembly and keep the visible pack predominantly fibre-based. It suits products that can be supported by folds rather than thick cushioning. The structural sample must confirm that tabs stay locked, walls do not bow and cut edges do not mark the product.
When is corrugated board more appropriate?
Fine-flute corrugated board adds depth and compression resistance with relatively low weight. It can create dividers, bridges and cradles for bottles, candles or multi-item sets. Exposed flute edges can be part of an honest material language, concealed below a paper platform or wrapped where the visual brief demands it. Specify whether appearance, dust and edge contact are acceptable.
What changes with moulded pulp?
Moulded pulp can follow product contours and create repeatable fibre trays. It usually brings tool design, draft angles and a more textured surface into the project. Natural variation can be visually suitable for some brands and inconsistent with others. Check contact points on polished, coated or delicate products, and do not assume that a fibre appearance alone proves a specific recycling route or sourcing claim.
When should foam remain in the comparison?
Some fragile, dense or precision products need performance that a practical fibre insert may not provide in the same volume. If foam is considered, identify the exact material and grade rather than specifying “EVA” or “foam” generically. Review cushioning, recovery, surface contact, odour, covering, disposal instructions and whether the insert can be removed from the box. The goal is an evidence-based decision, not a cosmetic sustainability substitution that increases damage.
How do you design insert fit and product access?
Use production-representative products or controlled samples with maximum and minimum dimensions. Measure projecting caps, pumps, hinges, sleeves and soft components in their packed condition. Define the presentation face and the direction in which the product is inserted. A structural designer then needs tolerance for both product variation and insert conversion—not just one nominal CAD model.
- Locate the product. Identify the surfaces that may safely carry weight and the areas that must not be loaded.
- Control movement. Agree how much lateral, vertical and rotational movement is acceptable.
- Protect the finish. Check sharp cut edges, abrasive fibres, colour transfer and pressure on decorated surfaces.
- Plan removal. Add a finger notch, ribbon lift, exposed edge or other intuitive access method.
- Check orientation. Turn the closed pack onto every face expected in handling and observe whether components remain located.
- Allow packing. Time how operators assemble the insert and place each product without damage or excessive force.
Removal force deserves the same attention as retention. A perfume bottle held securely at the shoulders may still be frustrating if the customer cannot reach its sides. A finger notch must be large enough for real use, and a ribbon lift must remain accessible after the product settles.

Why must the rigid box and insert be designed together?
The insert consumes internal space and changes how loads reach the box walls and base. A platform that looks correct in isolation may sit too high once wrap thickness, hinge clearance, lid depth and product tolerance are included. A heavy product may distort a drawer or make a book-style lid difficult to close. Confirm the assembled stack: product, insert, inner box, closure, lid and any tissue or booklet.
The opening sequence also changes by structure. A lift-off lid presents the full layout immediately. A drawer creates a horizontal reveal and needs pull clearance. A book-style box introduces hinge and closure zones. Review the rigid box styles guide before fixing the insert dieline, especially when several box formats are under consideration.
How should the insert coordinate with paper bags, tissue and ribbon?
The rigid box protects and presents the product; the premium paper shopping bag carries the finished purchase and provides the most visible brand surface outside the store. Size the bag around the closed box, not around the insert alone. Allow practical loading clearance, keep the box orientation stable and test the packed weight with the intended handles and base support.
Coordinate colour using approved materials, because the same colour reference can appear different on an uncoated insert, wrapped rigid board, printed tissue and satin ribbon. Repeat one or two cues rather than applying every finish everywhere. For example, a burgundy insert can echo the bag handles while the box exterior remains black and the tissue stays ivory. Our luxury packaging sets guide explains how to give each layer a distinct role.
What sustainability evidence should buyers request?
First ask whether the insert is necessary and whether its volume can be reduced without compromising the product. Regulation (EU) 2025/40 covers the whole packaging lifecycle and includes packaging-minimisation and recyclability requirements; the European Commission’s current packaging-waste overview confirms that the regulation applies from 12 August 2026 and aims for packaging on the EU market to be recyclable in an economically viable way by 2030. Exact duties depend on the pack, role in the supply chain and target market, so obtain project-specific compliance advice.
For paper-based designs, the 4evergreen Circularity by Design Guideline, Version 4 evaluates how constituents and integrated components interact with different paper-recycling pathways. Treat the assembled box and insert as a system: coatings, adhesives, fabrics, magnets, foams and decorative parts can change sorting, separation and recycling outcomes. The guide itself notes that pathways differ, so avoid a universal “100% recyclable” claim without relevant evidence.
The Google Plastic-Free Packaging Design Guide 2.0 is also a useful engineering reference for fibre structures, including rigid-box and paperboard directions. If FSC-certified material or an on-product claim is required, verify supplier scope and transaction evidence through FSC chain of custody. Certification, recycled content, plastic-free design and recyclability are different claims and should remain separate in the brief.
What samples should be approved before production?
Structure first
- Material swatches or representative grades
- White or unprinted insert prototype
- Real-product fit and removal review
- Insert inside the exact rigid box
- Packing-time and assembly check
Then presentation and route
- Printed or covered production-intent sample
- Colour, edge and adhesive inspection
- Closed-box and paper-bag fit
- Distribution-relevant performance test
- Signed reference and defect limits
A screen rendering can approve layout direction but cannot prove board recovery, cavity grip, product scuffing, lid closure or the customer’s removal experience. Retain an approved physical master with the exact product version and insert material identified. If products come from several factories, confirm that their tolerances and packing orientation match the approved sample.
How should insert performance be tested?
Begin with handling checks that reflect the real retail or fulfilment process: lift, rotate, open, close, remove and repack. Record movement, compression, marks, loose fibres, adhesive failure and damage to decorated surfaces. For transport, test the complete packaged product in the shipping configuration rather than testing the presentation box as if it travels alone.
The International Safe Transit Association’s test-procedure catalogue distinguishes screening, partial-simulation, general-simulation and other procedures. ISTA stresses selecting a procedure for the intended outcome and distribution hazards. A test level should therefore be chosen from the route, packaged-product weight and risk; it should not be copied from an unrelated product or treated as a universal guarantee.
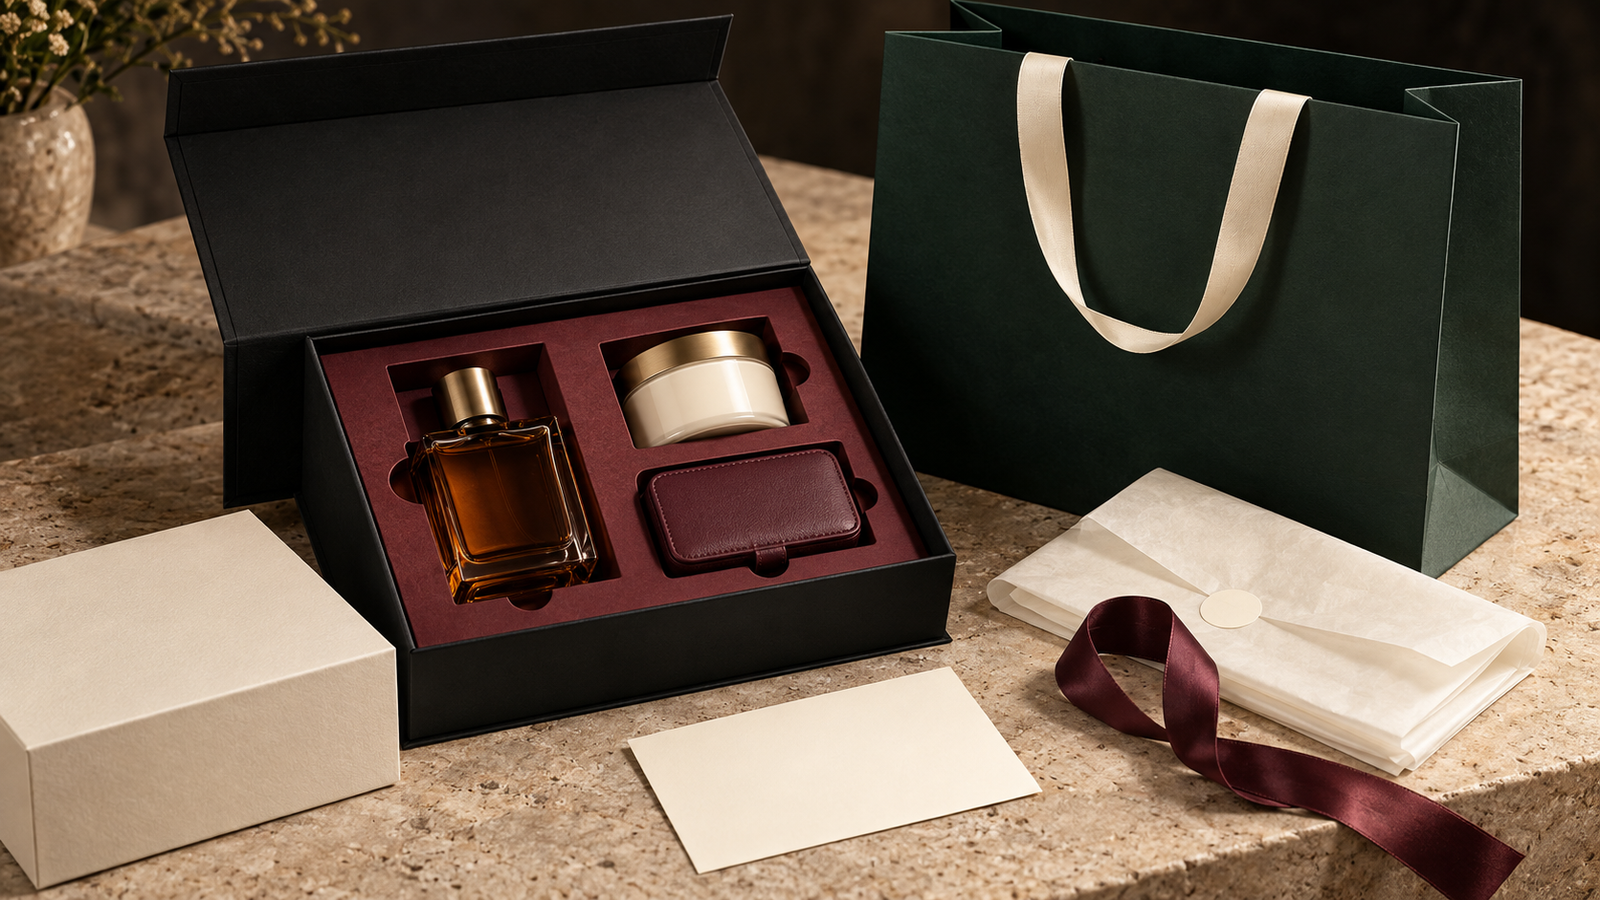
What should a custom box insert RFQ include?
| RFQ section | Information to provide | Why it matters |
|---|---|---|
| Products | Drawings, samples, weight, tolerances, fragile areas and approved orientation | Defines contact, support and cavity geometry |
| Insert function | Retention, cushioning, separation, reveal, accessory storage and removal method | Prevents appearance from replacing performance |
| Box system | Internal dimensions, structure, wrap, closure and lid clearance | Confirms the full assembled stack |
| Material direction | Proposed board, pulp, foam or covering plus evidence required | Makes quotations technically comparable |
| Artwork | Print files, colour references, visible edges and surface expectations | Aligns decoration with conversion |
| Samples and tests | Prototype stages, real-product fit, route and acceptance criteria | Defines approval before bulk production |
| Commercial scope | Quantity by version, assembly, packing, destination, incoterm and date | Exposes tooling, labour, freight and schedule differences |
Ask suppliers to separate tooling, prototypes, unit cost, assembly and delivery. If one outer box will serve several products, identify which inserts can share a footprint and which require separate tools or artwork. Include the matching paper bag, printed tissue paper and custom packaging ribbon in the same colour and fit review when they form one retail set.
Frequently asked questions about custom box inserts
What is the best insert for a luxury rigid box?
There is no universal best material. Folded paperboard suits many light premium products; corrugated board adds structure; moulded pulp offers formed fibre support; and foam may suit precision retention or cushioning. Decide from product risk, appearance, access, route and end-of-life evidence.
Can paperboard inserts protect fragile products?
They can protect suitable products when geometry, support points and the complete transport pack are designed and tested for the route. Material name alone does not prove cushioning or damage prevention.
Should the insert be designed before the rigid box?
Develop them together. Product, insert and box dimensions affect one another. Fixing the outer box too early can leave too little room for safe support, access or lid closure.
Can one rigid box use several different inserts?
Yes, if each insert fits the same usable interior and the resulting product height, weight and closure remain acceptable. Sample every version; shared outer dimensions do not guarantee equal performance.
Are paper inserts automatically recyclable?
No. Recycling depends on the complete construction, components, coatings, adhesives, local collection and the relevant mill pathway. Request evidence for the actual finished design and target market.
Approve the product, insert, box and bag as one set
A strong custom insert starts with the real product and a precise job: locate, protect, separate, reveal or cushion. Compare material directions only after defining those functions. Then prove fit, removal, box closure, packing and transport using production-representative samples.
For a comparable quotation, send product samples or controlled drawings, weight and tolerances, desired box style, insert functions, material goals, target markets, quantity, packing process, distribution route and launch date. Add the required luxury paper bag, tissue and ribbon so the complete presentation can be sized and approved together.
Build the Insert Around the Real Product
Share your product samples, box direction, quantity and delivery route. We can coordinate the custom insert, rigid box, luxury paper bag, tissue and ribbon before production.