
INSIDE-PRINTED PAPER BAG GUIDE
Inside Printing on Luxury Paper Bags: A Buyer’s Guide
Plan the interior colour, pattern and reveal as part of the converted bag—not as decoration added after the structure is approved.
Inside-printed paper bags carry ink, colour or a pattern on the interior surface that customers see when the bag opens. The treatment can create a distinctive reveal, but it also changes artwork mapping, colour approval, drying, converting and inspection. Buyers should define the visible interior zones on the supplier’s actual dieline and approve a fully converted sample before production.
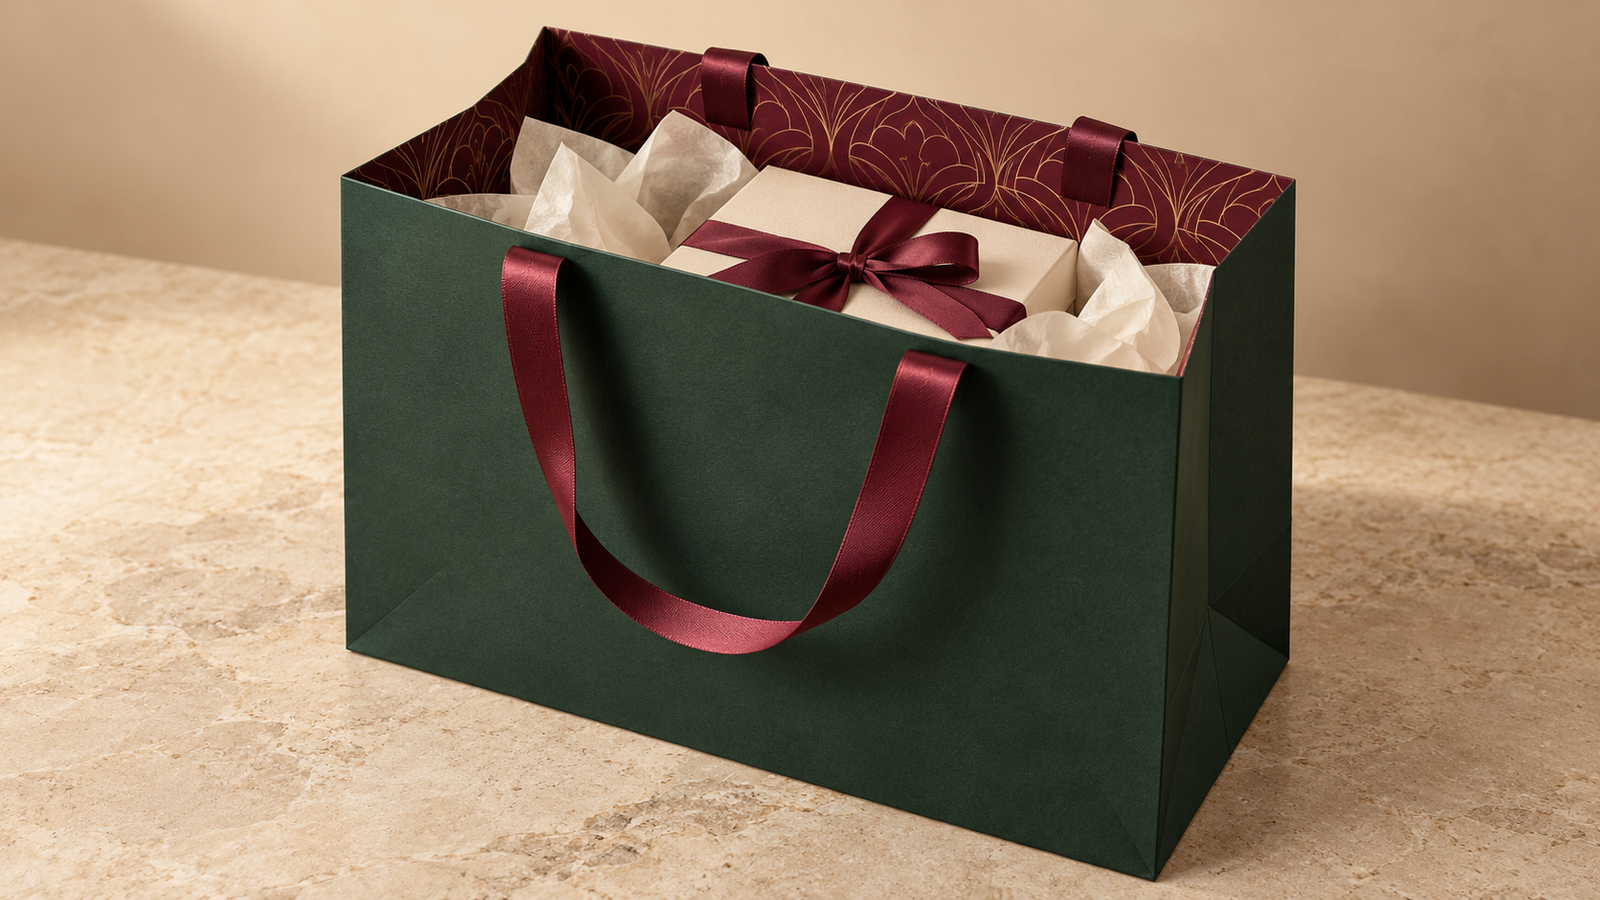
The short buyer answer
Use inside printing when the open-bag reveal has a clear brand job: a contrasting colour, a restrained repeat pattern, a campaign detail or a deliberate transition to the tissue and gift box. Ask the supplier to identify which panels, gussets, folds and base areas will remain visible after conversion. Approve the colour and the finished construction together; a flat proof cannot show the complete result.
When is inside printing worth adding to a luxury paper bag?
Interior print earns its place when it supports a planned customer moment. It is most visible as staff open the bag, arrange tissue, place the product and hand the carrier across the counter. It can also appear around the turned top and side gussets while the customer carries or reopens the bag.
Strong reasons to specify it
- The bag opening is an important part of the retail reveal.
- A simple exterior needs a controlled interior surprise.
- The inside colour connects the bag with tissue, ribbon or a rigid gift box.
- A repeat pattern can carry brand character without enlarging the exterior logo.
- Seasonal artwork can be contained inside a reusable core bag design.
Reasons to keep the interior unprinted
- The interior is rarely visible in the actual packing workflow.
- The design adds ink coverage without adding useful information or experience.
- An attractive natural paper surface already fits the brand direction.
- The extra proofing, production and inspection steps do not fit the programme.
- The intended recovery route or material claim has not been checked for the complete construction.
Inside printing is not a universal marker of luxury. A well-proportioned, structurally sound custom paper bag with an intentional unprinted interior can be more convincing than a busy two-sided design. Start with the experience you want, then decide whether ink is necessary.
Which interior design direction should you choose?
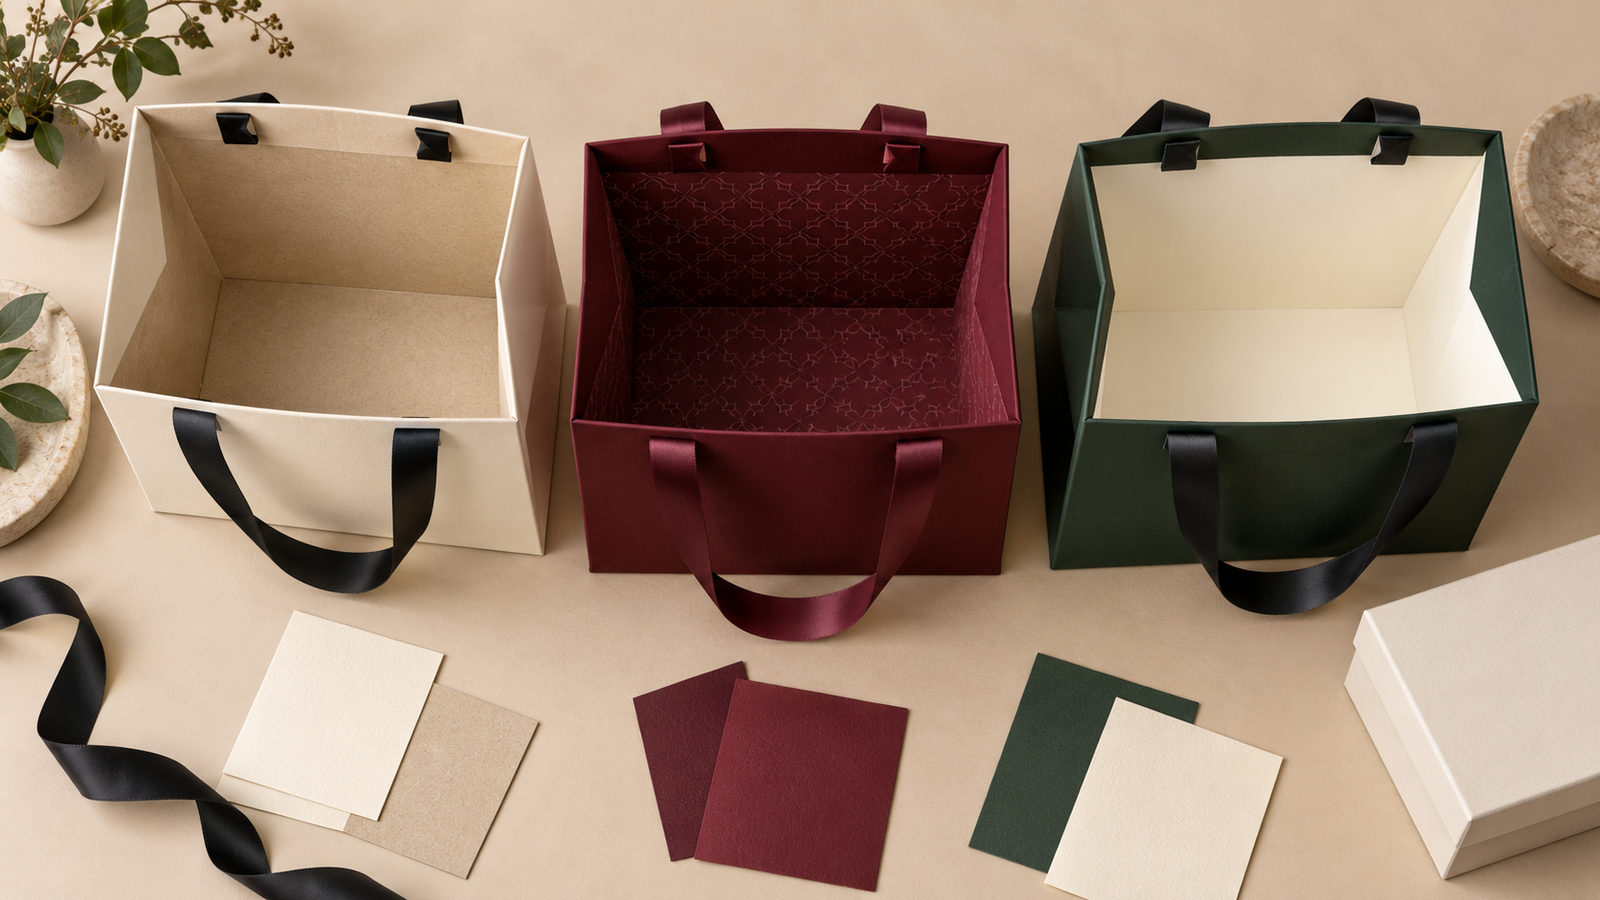
| Interior direction | What it does well | What to approve |
|---|---|---|
| Solid contrasting colour | Creates an immediate reveal and can connect exterior, handle and tissue colours. | Ink appearance on the chosen paper, fold coverage, rub resistance and consistency across the bag family. |
| Low-contrast repeat pattern | Adds discovery and brand texture without competing with the exterior identity. | Repeat scale, joins, orientation, fold disruption and which motif areas remain visible. |
| Message or campaign artwork | Creates a specific moment for a launch, gift or event programme. | Readable position after conversion, safe areas, language versions and whether the message stays hidden until opening. |
| Unprinted paper | Preserves natural material character and keeps the construction visually quiet. | Interior cleanliness, paper shade, fibre variation and compatibility with tissue or the packed product. |
For a coordinated set, place real components beside the bag during review. The interior does not need to match every item exactly. It can bridge an ivory exterior to burgundy tissue, repeat the green used on a box collar, or provide a neutral pause before the product reveal. Our luxury packaging sets guide explains how to give the bag, box, tissue and ribbon different but connected roles.
Can the whole inside of a paper bag be printed?
Potentially, but “print the inside” is not precise enough for an order. Many fully custom bags are printed while the paper is still flat, before cutting, creasing, folding, gluing and handle fitting. The artwork may therefore reach interior front and back panels, side gussets, the turned top and selected base areas. What remains visible depends on the supplier’s construction and imposition.
Map four zones on the converted sample
- Inner main panels: the largest visible surfaces when the bag opens.
- Side gussets: folded areas where a pattern may compress, reverse or disappear.
- Turned top: a narrow band affected by folds, reinforcement and handle attachments.
- Base: an area partly hidden by folds, glue and any base board.
Ask the supplier for the dieline of the exact bag size and construction. Do not copy artwork from one size to another without checking panel proportions, gusset depth, top fold, seam and base layout. If the bag family includes several sizes, define whether the pattern scale remains constant or changes to preserve the same visual rhythm.
How should artwork be prepared for inside printing?
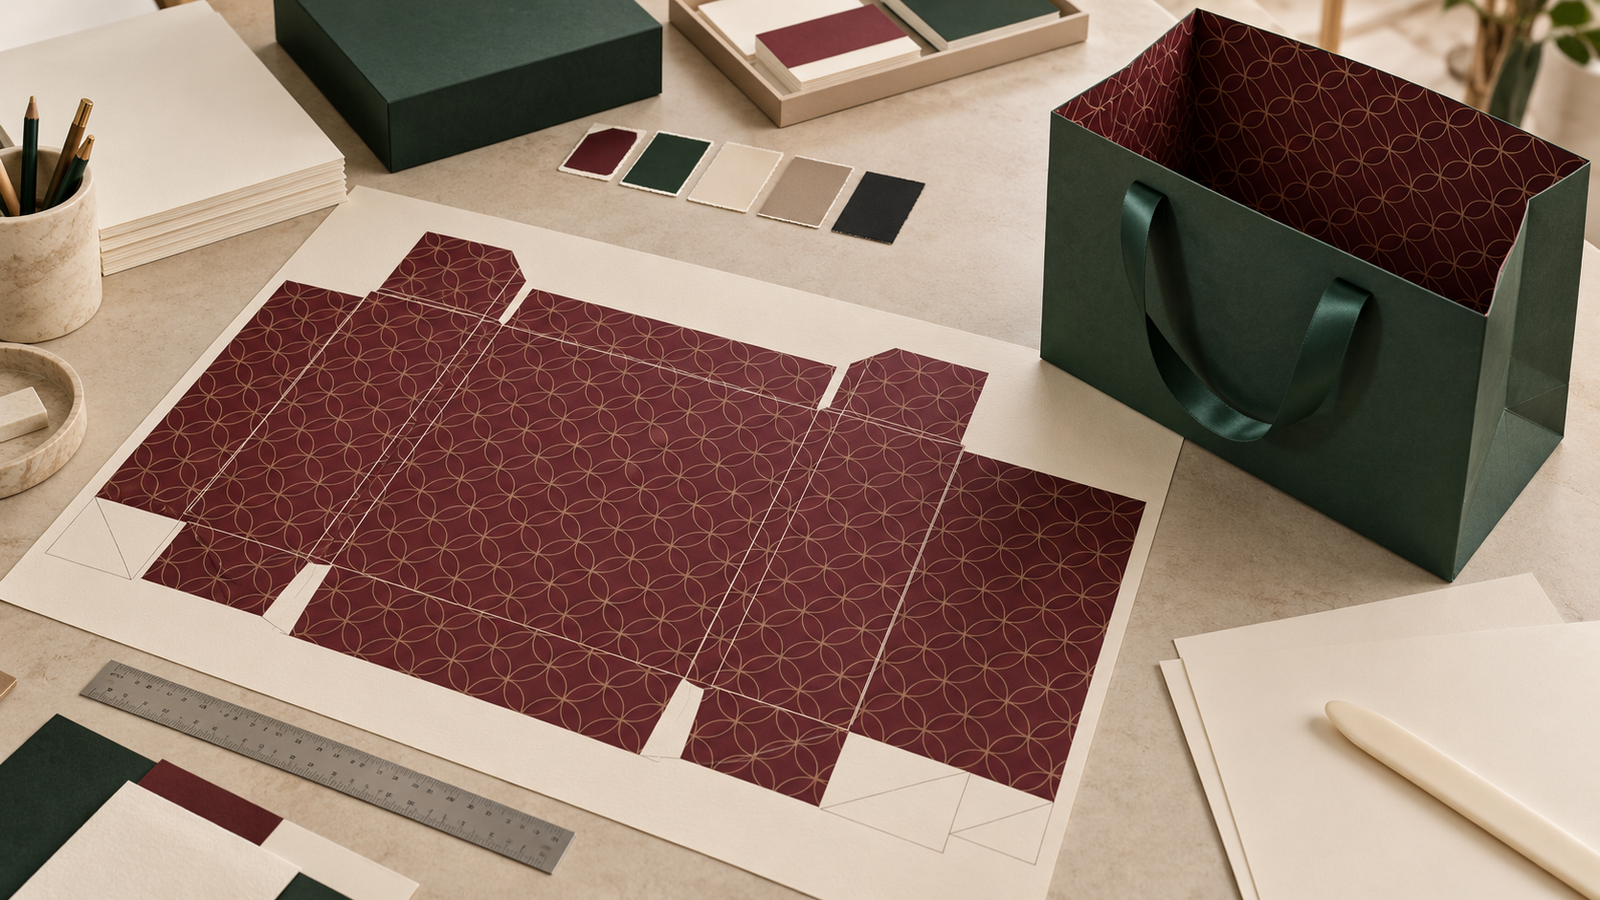
Build exterior and interior artwork as clearly named layers or files on the supplier’s production dieline. Mark the print side, bag opening, front panel, seam and orientation. Separate spot colours and finishing layers, and show the intended relationship between the outer face and inner reveal. The paper bag artwork guide covers source files, dielines and approval handoff in more detail.
- Lock the final structure first. Interior artwork cannot be placed accurately on a provisional dieline.
- Identify visible and hidden zones. Keep messages and critical motifs away from fold losses, seams, reinforcement and handle holes.
- Extend backgrounds correctly. Adobe defines bleed as artwork extending beyond the trim area so ink still reaches the edge after trimming; use the supplier’s required bleed rather than assuming a universal value.
- Separate colour intent. State whether the inside uses process colour, a named spot colour or the paper itself.
- Supply a placement proof. Show the converted bag from the customer viewpoint, not only the flat sheet.
Adobe’s current guidance explains printer’s marks and bleed, but the converter must supply the job-specific dimensions. Keep registration marks, colour bars and production notes outside the finished artwork area unless the supplier instructs otherwise.
Will the inside colour match the outside colour?
Not automatically. The same ink can look different when the interior and exterior use different paper surfaces, coatings, base shades or protective finishes. Pantone explains that its coated and uncoated references describe colour appearance on different paper types; greater absorption on uncoated paper changes the visual result. A screen value or digital mock-up is therefore not a physical colour standard.
For process artwork
Request a proof that reflects the chosen print condition and substrate as closely as practical. ISO 12647-2:2013 remains published while a revision is under development; it defines process-control parameters for offset colour separations, proofs and production printing, including packaging board applications.
For a brand spot colour
State the physical reference, substrate direction, viewing condition and acceptable tolerance agreed with the printer. Pantone’s coated and uncoated explanation is a useful reminder that the suffix and paper surface matter.
A contract-style hard-copy proof can help set colour expectations for suitable workflows. ISO 12647-7:2016, confirmed current in 2022, specifies requirements for hard-copy digital proofs intended to simulate a defined printing condition. Even so, the fully converted production-relevant sample remains necessary because folds, handling and the relationship between inner and outer surfaces are bag-specific.
What production risks should buyers review?
- Set-off: ink or coating transfers to the opposite surface while sheets are stacked or converted.
- Fold cracking or colour break: heavy coverage changes appearance along scores and sharp gusset folds.
- Rub and scuffing: tissue, boxes, staff hands and product packs repeatedly contact the interior.
- Pattern disruption: motifs meet awkwardly at gussets, seams, the turned top or the base.
- Colour variation: interior and exterior surfaces respond differently to ink and finish.
- Contamination of the presentation: insufficiently approved ink or surface treatment marks tissue or the packed secondary box.
The correct control depends on the selected paper, ink system, print route, coverage, drying method and conversion sequence. Do not prescribe one generic solution. Ask the manufacturer to document the proposed route, then use samples and production inspection to verify the agreed result. Compare print methods in our luxury paper bag printing guide.
Does inside printing change recyclability?
It can change the material composition and ink coverage, but no single statement applies to every bag or market. The February 2026 4evergreen Circularity by Design Guideline Version 4 treats inks and varnishes alongside coatings, adhesives, metallic constituents and other components when evaluating fibre-based packaging. That means the whole bag construction matters—not interior print in isolation.
Ask for evidence relevant to the intended collection, sorting and paper-mill route, and keep sourcing claims separate from recyclability claims. A paper substrate, an FSC claim or an unlaminated surface does not by itself prove that a complete bag is recyclable everywhere. Use the recyclable luxury paper bags guide to frame supplier questions.
How should an inside-printed bag be sampled and inspected?
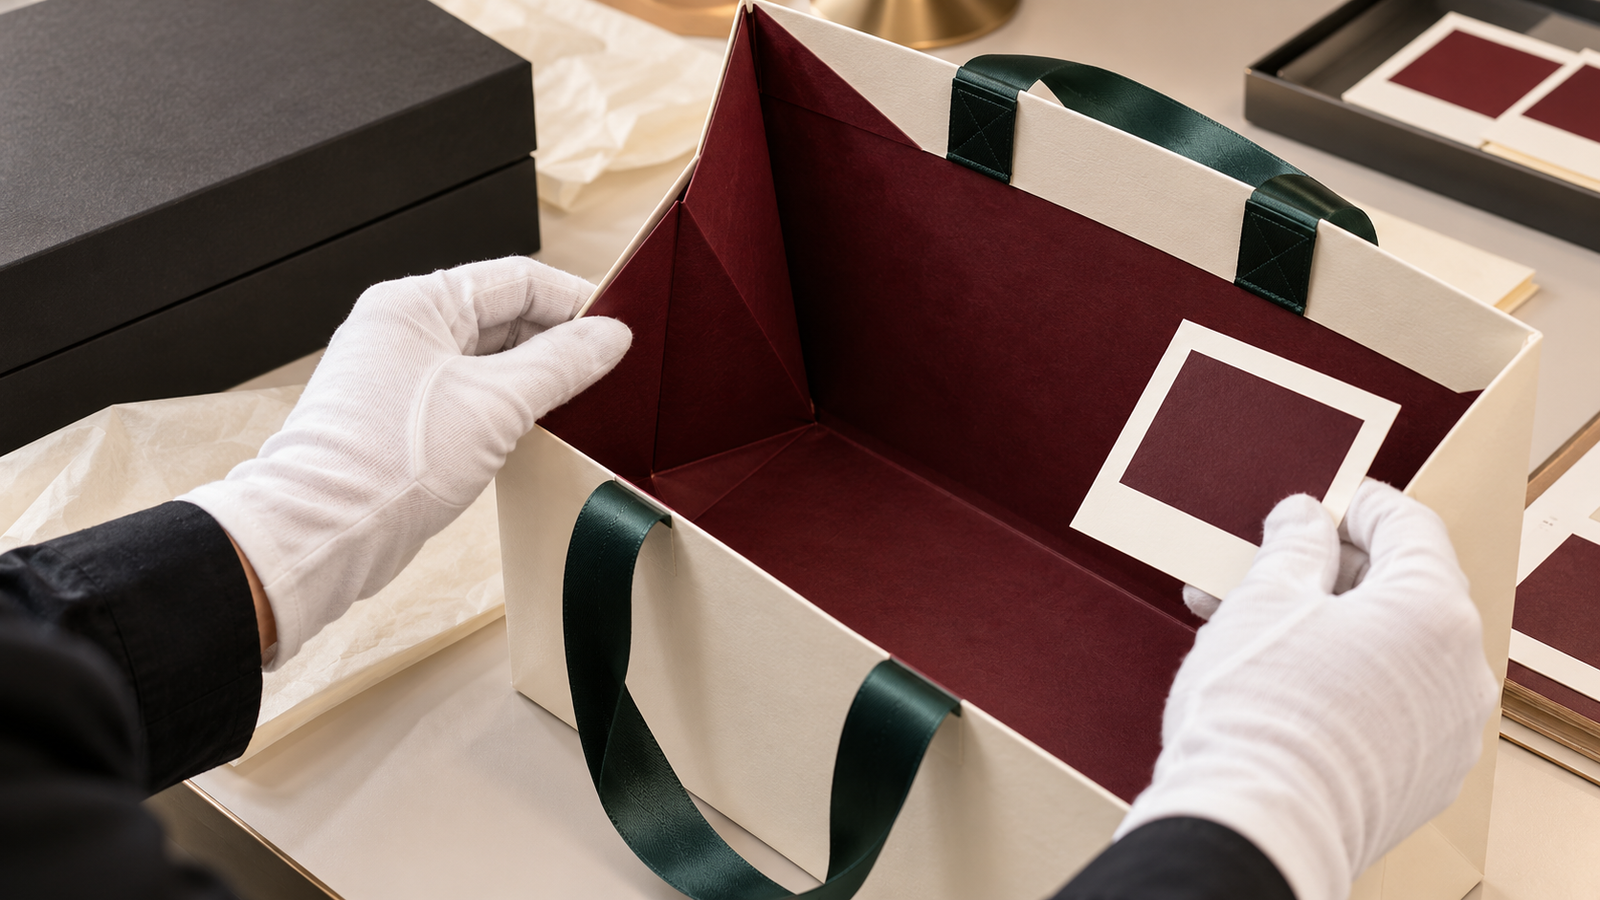
Approve the reveal in sequence
- Review paper and ink drawdowns or swatches for colour and surface direction.
- Approve a flat artwork proof for content, layers, repeat and orientation.
- Use a plain structural sample to confirm the final dieline and visible zones.
- Approve a fully printed and converted sample with handles, reinforcement and base construction.
- Pack the real box, tissue, ribbon, documents and product; repeat the actual store handoff.
- Keep a signed master and measurable criteria for bulk production inspection.
During bulk inspection, open bags from different cartons and positions in the run. Check inside coverage, colour, repeat direction, seams, gusset folds, turned tops, handle areas, base cleanliness, scuffing and transfer to tissue or a light-coloured box. The inspection plan should also retain the structural and dimensional checks in the paper bag quality-control checklist.
What belongs in a quote-ready brief?
- Finished bag width, gusset and height for every size.
- Real packed product, box, tissue and document dimensions and weight.
- Paper family, surface, shade and sourcing requirement.
- Exterior and interior artwork files on the supplier-approved dieline.
- Interior coverage: main panels, gussets, turned top and base.
- Process or spot colours, physical references and approval method.
- Print route, protective treatment and any excluded areas.
- Handle, reinforcement, top fold, seam and base construction.
- Sample stages, signed master, inspection criteria and packing trial.
- Quantity by size and artwork, destination, carton requirements and delivery date.
Include the coordinated rigid gift box, printed tissue paper and ribbon requirements when they affect the reveal. This lets suppliers quote the same scope and helps prevent an attractive interior from conflicting with the items it was designed to introduce.
Frequently asked questions about inside-printed paper bags
Can a luxury paper bag be printed inside and outside?
Yes, many fully custom production routes can print both faces of the sheet before the bag is converted. Confirm the exact paper, print process, coverage, construction and quantity with the manufacturer because capability and economics vary.
Is a solid colour or a pattern better inside?
A solid colour creates a direct reveal and is easier to coordinate across a set. A repeat pattern can add more brand character but requires careful scale, orientation and fold mapping. Choose by the intended experience, then test the converted sample.
Can the interior match a brand Pantone exactly?
A named spot-colour reference improves communication, but the printed appearance still depends on paper surface, base shade, ink, coating and process control. Approve a physical result on the intended substrate and agree how colour will be evaluated.
Do I need a fully converted sample?
Yes, when interior placement and reveal matter. A flat proof can confirm content and colour direction, but only a converted sample shows gusset folds, top turns, seams, handles, base areas and the real relationship with tissue and the product box.
Make the inside of the bag do a clear job
The strongest inside-printed paper bags are not simply covered with more ink. Their interior colour or pattern appears at the right moment, survives folding and handling, works with the packed components and can be approved against clear evidence. Define that job first, map it on the final dieline and judge it in the customer’s hands.
Bespoke Packaging develops custom luxury paper bags with coordinated rigid boxes, tissue paper and ribbon. Send us your bag sizes, packed products, artwork, quantities, destination and preferred interior direction, and we can help turn them into a production-ready sampling brief.
What should your customer discover when the bag opens?